Formatting a USB drive might sound like a mundane task, but choosing the right file system can make a world of difference in performance, compatibility, and usability. Whether you’re preparing your flash drive for large files, multiple operating systems, or simply looking to optimize performance, this quick guide will show you how to format your drive to exFAT or NTFS using Windows 10 or 11.
🚀 Why File System Choice Matters
When you plug in a USB flash drive and choose to format it, Windows typically offers FAT or FAT32 as default options. These formats are widely compatible across devices and operating systems—but they come with limitations. For example, FAT32 doesn’t support files larger than 4GB.
If you’re planning to transfer large files or need enhanced performance, NTFS or exFAT are better choices. Here’s a quick breakdown:
-
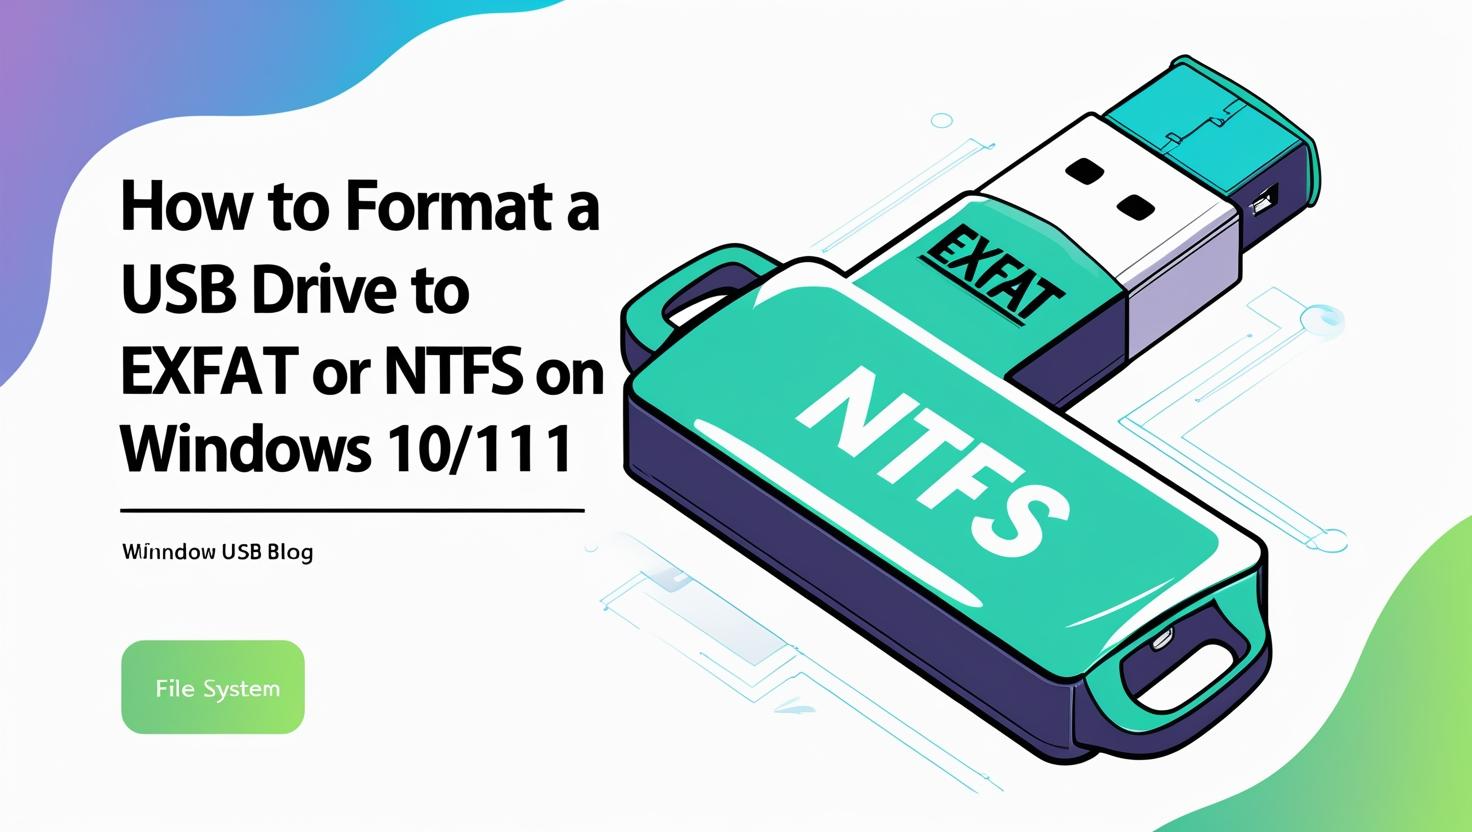
NTFS: Best for Windows-only environments where performance and advanced features (like file permissions or encryption) matter. However, it may slow down write speeds on flash drives and requires you to safely eject the device every time.
-
exFAT: A modern format ideal for large files and cross-platform compatibility—perfect if you use both Windows and macOS.
🔧 How to Format a USB Flash Drive to NTFS
Want to enable NTFS on your flash drive? Here’s how to do it properly to avoid sluggish performance and data loss:
-
Insert your USB flash drive into your computer’s USB port.
-
Press Windows Key + R, type
devmgmt.msc, and hit Enter to open Device Manager. -
Expand the Disk Drives section and double-click your USB flash drive.
-
In the Properties window, navigate to the Policies tab.
-
Change the setting from Optimize for quick removal to Optimize for performance, then click OK.
-
Open This PC (or Computer), right-click your USB drive, and choose Format.
-
In the Format dialog box, select NTFS from the File System dropdown.
-
Click Start and wait for the formatting to complete.
🎉 Your flash drive is now formatted in NTFS and ready for action!
💡 How to Format an External Drive to exFAT Using Command Prompt
If you’re aiming for flexibility and support for large files across different operating systems, exFAT is the way to go. Here’s how to format your drive to exFAT via Command Prompt:
-
Right-click the Start button and choose Command Prompt (Admin) or Windows Terminal (Admin).
-
Type the following command and press Enter:
Replace G: with the actual drive letter assigned to your external drive.
-
Follow the prompts to complete the formatting.
✔️ Done! Your drive is now using the exFAT file system, making it versatile and efficient for large file transfers.
📌 Final Thoughts
Choosing between NTFS and exFAT depends on how you plan to use your drive. For Windows-only tasks with advanced features, go with NTFS. For maximum compatibility and large file support, exFAT is your best bet.
Now that you know how to format your drive the right way, you can make the most of your storage devices—whether you’re backing up files, creating bootable drives, or managing media across systems.
Have questions or got stuck? Drop a comment below and we’ll help you troubleshoot!


